
Display panels and scripts to get the most from your Bitcoin node
Display panels and scripts to get the most from your Bitcoin node
If you installed Nodeyez using the Quick Start, then this step is already done for you and you can skip ahead to using the Nodeyez-Config tool.
Whether you are using a display screen or not, you can also make the images viewable via website dashboard. The dashboard included in nodeyez looks like this
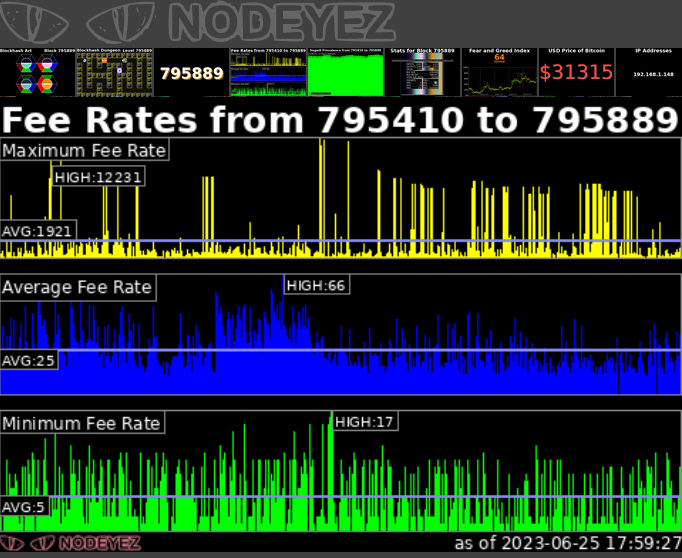
The dashboard view will automatically cycle through the same images at 10 second intervals, showing smaller versions at the top of the screen.
Clicking on an image will automatically advance the view to the full size version of that one.
There are multiple options for setting up the dashboard. Choose the most appropriate based on your raspberry pi node
If you are currently logged in as user nodeyez, exit back to the privileged user.
Check if NGINX is installed
which nginx
If there is no returned path for NGINX, install it
sudo apt install -y nginx nginx-common
Create self-signed certificates that can be referenced in the web config.
sudo openssl req -x509 -nodes -newkey rsa:2048 -keyout /etc/ssl/private/nodeyez-nginx-selfsigned.key -out /etc/ssl/certs/nodeyez-nginx-selfsigned.crt -subj "/CN=localhost" -days 3650
Create Diffie-Hellman parameters if they don’t already exist
if [ ! -f "/etc/ssl/certs/dhparam.pem" ]; then
  sudo openssl dhparam -dsaparam -out /etc/ssl/certs/dhparam.pem 4096
fi
Capture the existing SSL Certificate and Key. This is primarily for previously existing NGINX instances. In the case of installing on a MyNodeBTC instance, the intent is to be able to use the same SSL certificate that is used for other subsites in that instance
line_ssl_certificate=$(sudo nginx -T 2>&1 | grep "ssl_certificate " | sed -n 1p)
line_ssl_certificate_key=$(sudo nginx -T 2>&1 | grep "ssl_certificate_key " | sed -n 1p)
Drop in the Nodeyez XSLT Templates used for building directory listings
sudo cp /home/nodeyez/nodeyez/scripts/nginx/nodeyez*.xslt /etc/nginx/
If the above statement fails with a cannot stat error, use this
sudo cp /home/nodeyez/nodeyez/scripts/nginx/nodeyez_dirlistblack.xslt /etc/nginx/

sudo cp /home/nodeyez/nodeyez/scripts/nginx/nodeyez_imagegallery128.xslt /etc/nginx/

sudo cp /home/nodeyez/nodeyez/scripts/nginx/nodeyez_imagegallery.xslt /etc/nginx/
The prebuilt SSL configuration files include references to the cert and key, common parameters, and proxy definitions.
sudo mkdir -p /etc/nginx/nodeyez
sudo cp /home/nodeyez/nodeyez/scripts/nginx/nodeyez_ssl*.conf /etc/nginx/nodeyez
Check if there were certificates in existing config
echo $line_ssl_certificate
echo $line_ssl_certificate_key
If the above outputed values, then assign back into configuration as follows
sudo rm /etc/nginx/nodeyez/nodeyez_ssl_cert_key.conf
sudo echo $line_ssl_certificate >> /etc/nginx/nodeyez/nodeyez_ssl_cert_key.conf
sudo echo $line_ssl_certificate_key >> /etc/nginx/nodeyez/nodeyez_ssl_cert_key.conf
Check for whether XSLT modules are included already
sudo cat /etc/nginx/modules-enabled/* | grep xslt
If there are no values returned, copy in the configuration to enable it
sudo cp /home/nodeyez/nodeyez/scripts/nginx/a_xslt.conf /etc/nginx/modules-enabled/a_xslt.conf
Now we deploy the site definition for the dashboard itself
MyNodeBTC Only : If you are deploying on a MyNodeBTC instance, use the following
sudo cp /home/nodeyez/nodeyez/scripts/nginx/https_nodeyez_mynode.conf /etc/nginx/sites-enabled/https_nodeyez.conf
Raspibolt Only : If you are deploying on a Raspibolt instance, use the following
sudo cp /home/nodeyez/nodeyez/scripts/nginx/http_nodeyez_raspibolt.conf /etc/nginx/nodeyez/http_nodeyez_raspibolt.conf

sudo cp /home/nodeyez/nodeyez/scripts/nginx/https_nodeyez_raspibolt.conf /etc/nginx/streams-enabled/https_nodeyez_raspibolt.conf

if [ ! -f "/etc/nginx/modules-enabled/http_nodeyez_raspibolt.conf" ]; then
  sudo ln -s /etc/nginx/nodeyez/http_nodeyez_raspibolt.conf /etc/nginx/modules-enabled/http_nodeyez_raspibolt.conf
fi
For other instances, use the following
sudo cp /home/nodeyez/nodeyez/scripts/nginx/https_nodeyez.conf /etc/nginx/sites-enabled/https_nodeyez.conf
Once complete, set the ownership
sudo chown root:root -R /etc/nginx/
This will assign group to nginx, and also give it execute permission to the group so that members can traverse the folders of nodeyez
sudo gpasswd -a www-data nodeyez
sudo chmod g+x /home/nodeyez
sudo chmod g+x /home/nodeyez/nodeyez
sudo chmod g+x /home/nodeyez/nodeyez/imageoutput
The Nodeyez website dashboard uses port 907. Enable access to view it.
sudo ufw allow 907 comment 'allow Nodeyez Dashboard HTTPS'
sudo ufw enable
You can find the IP address to access via
hostname -I
First, test the configuration
sudo nginx -t
If there are errors, review the configuration files and correct.
If you receive an error about module “ngx_http_xslt_filer_module” already being loaded, then you can remove the XSLT dropin:
sudo rm /etc/nginx/modules-enabled/a_xslt.conf
If there are no failures from testing configuration, then restart nginx
sudo systemctl restart nginx
Using a web browser, see if you can access the dashboard at
https://your-node-ip:907
You can also get to lists of files in the data directory at
https://your-node-ip:907/data/
And view a specific subfolder of data as a photo album at
https://your-node-ip:907/album/
| Home | Back to Slideshow | Continue to Running Services at Startup |