
Display panels and scripts to get the most from your Bitcoin node
Display panels and scripts to get the most from your Bitcoin node
This step is optional.
If you are not using a Raspberry Pi, or you don’t want to attach a screen to your Raspberry Pi, then you can proceed with the next section: Tools
If you later choose to add a screen to your Raspberry Pi, you can come back and do this step later.
The Raspberry Pi is a great single board computer (SBC) that offers multiple interfaces.
Regardless of which option you choose, to display images you’ll need to log into your node and install the framebuffer image viewr package.
You will need to SSH into your node as a privileged user that can sudo
Don’t be alarmed by the package name. This is a simple utility to send video bytes to the framebuffer associated with the screen device for display.
sudo apt-get -y install fbi
This guide and the scripts focus on use of a 3.5” TFT screen with a resolution of 480x320. This size choice was made because existing raspiblitz project uses this screen, and there are cases available from Cryptocloaks also making use of these screens. You can deviate and use a different size screen, but setting up alternative displays are outside the scope of this guide. Some scripts do have some initial support for scaling to different resolutions.
Most screens with a 480x320 resolution based on the XPT2046 chip should work. These screen look like this
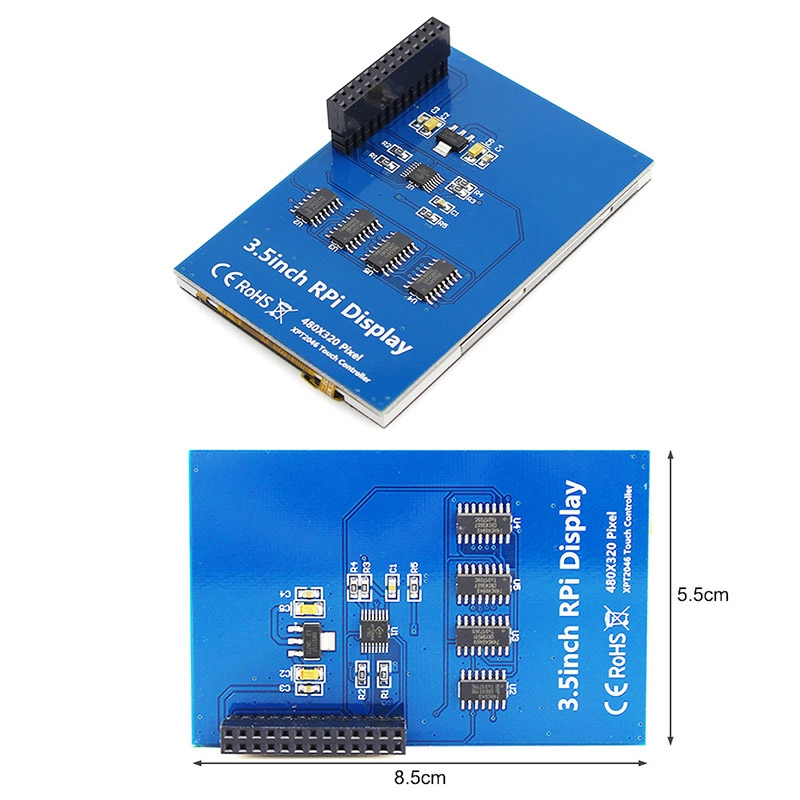
If you cannot get one at a local electronics store, you may be able to source from amazon here or here or here or here.
If you can’t source one from any of the above, reach out to me on Nostr. I have some extras that I can sell.
To setup the screen
Access the raspberry pi config program as follows
sudo raspi-config
Choose the menu options for
Note that the raspi-config program has changed over time and your menu choices may differ. Ultimately, you’re looking for the option to enable SPI to support access to the display attached to the GPIO pins
Save and exit the raspi-config program
Next, edit the /boot/config.txt file
sudo nano /boot/config.txt
Verify that it has a line reading as follows:
dtparam=spi=on
You’ll need to add a line at the bottom of the file for the screen as follows:
dtoverlay=piscreen,speed=16000000,rotate=270
The 270 rotation is a landscape mode with the ports for USB and ethernet to the right.
With exception to the NodeyezDual panel, all images created by the scripts are in landscape mode, so you’re rotation should be either 90 or 270 depending on preferred orientation.
If you are using a Lightning Shell case from Cryptocloaks and your lightning bolt is oriented…
rotate=90rotate=270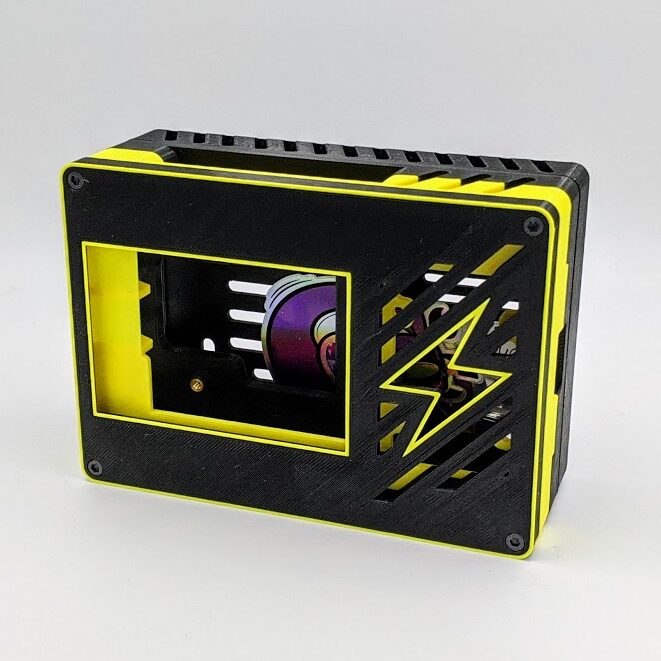
Save (CTRL+O) and Exit (CTRL+X).
You’ll need to reboot before the changes for boot and the GPIO pins are enabled for the screen.
You should do a safe shutdown or reset. Don’t simply turn off the power by flipping a switch or pulling the plug if you can avoid it.
If you’re running a node package like MyNodeBTC or Umbrel etc., then use the web interface power cycle the device cleanly.
From the command line you can simply call sudo init 6
After waiting for the pi to restart, log to your node with the same user. Proceed with the Quick Text section
The Display Serial Interface (DSI) connector is a small connector on the side opposite the USB and Ethernet ports on a Raspberry Pi. Though screens that use this interface tend to cost more, there are significant advantages in this approach
I only have experience working with the 800x480 DSI screen, which I’ve mounted on my setup in portrait orientation. This allows me to display 2 of the images created by Nodeyez scripts simultaneously using the Two Image Display script.
Regardless of which DSI screen you choose, consider picking up an assortment of ribbon lengths unless you know exactly what length you require.
To setup the screen
Next, edit the /boot/config.txt file
sudo nano /boot/config.txt
Comment out the following lines by putting a # mark at the beginning of the line
# camera_auto_detect=1
# dtoverlay=vc4-kms-v3d
You can optionally disable the standard splash screen on bootup
disable_splash=1
Then add this section to the bottom
[all]
# Enable Display for 5 inch LCD
dtoverlay=vc4-kms-DPI-5inch,backlight-def-brightness=2
display_rotate=3
dtoverlay=rpi-backlight
You may prefer a different value for display_rotate depending on the orientation you choose for your display
Save (CTRL+O) and Exit (CTRL+X).
This screen is using a custom overlay. Download and install into the overlays folder following these commands.
cd /tmp

wget https://www.waveshare.net/w/upload/8/86/vc4-kms-DPI-5inch.dtbo

sudo mv vc4-kms-DPI-5inch.dtbo /boot/overlays/vc4-kms-DPI-5inch.dtbo
You’ll need to reboot before the changes to use the new overlay driver take effect.
You should do a safe shutdown or reset. Don’t simply turn off the power by flipping a switch or pulling the plug if you can avoid it.
If you’re running a node package like MyNodeBTC or Umbrel etc., then use the web interface power cycle the device cleanly.
From the command line you can simply call sudo init 6
After waiting for the pi to restart, log to your node with the same user. Proceed with the Quick Text section
The High Definition Multimedia Inteface (HDMI) is a very common interface now. To use it with the Raspberry Pi, you’ll need a micro HDMI to HDMI cable, or a standard HDMI to HDMI cable plus a micro HDMI to HDMI adapter.
Do a quick test to verify that the screen can display an image.
We’ll download an image from Nodeyez github repo, and then display it to the screen
cd /tmp

wget https://nodeyez.com/images/logo.png

sudo fbi --vt 1 --autozoom --device /dev/fb0 -1 logo.png

rm logo.png
You should see the picture of eyes as depicted below. If you don’t see this recheck your progress through the steps above. In rare situations, you may need to adjust the value of --vt (try 0) or --device (try /dev/fb1). If for some reason you do have to make changes here, make note of them as you’ll need to make similar modifications to the slideshow.sh file.
![]()
| Home | Back to Your Node | Continue to Tools |